Teen Boy- Bedroom Reveal
At long last, I’m sitting here writing this blog post of our teen son’s bedroom makeover. In case you haven’t been following along, we kicked off the new year with this home project. I always plan a personal home project for the month of January and February as I tend to suffer from SAD. I find having a creative outlet at home helps minimize those symptoms.
When we started this project, we had no idea that it would take us seven months to complete!
It was definitely one of those situations of “where you give a mouse a cookie” and things tend to snowball.
As with any project, whether at home or for a client, I created a mood board and floor plan of the space. His room is small measuring 8’0” by 11’0”. Add in that our home is a 1 1/2 storey we also have a sloped ceiling to design around.
Interesting fact: This is our third 1 1/2 storey home. Every time we sell and are looking for a new home, my husband in particular is drawn to this style of home and definitely the age of home.
Here’s the mood board:
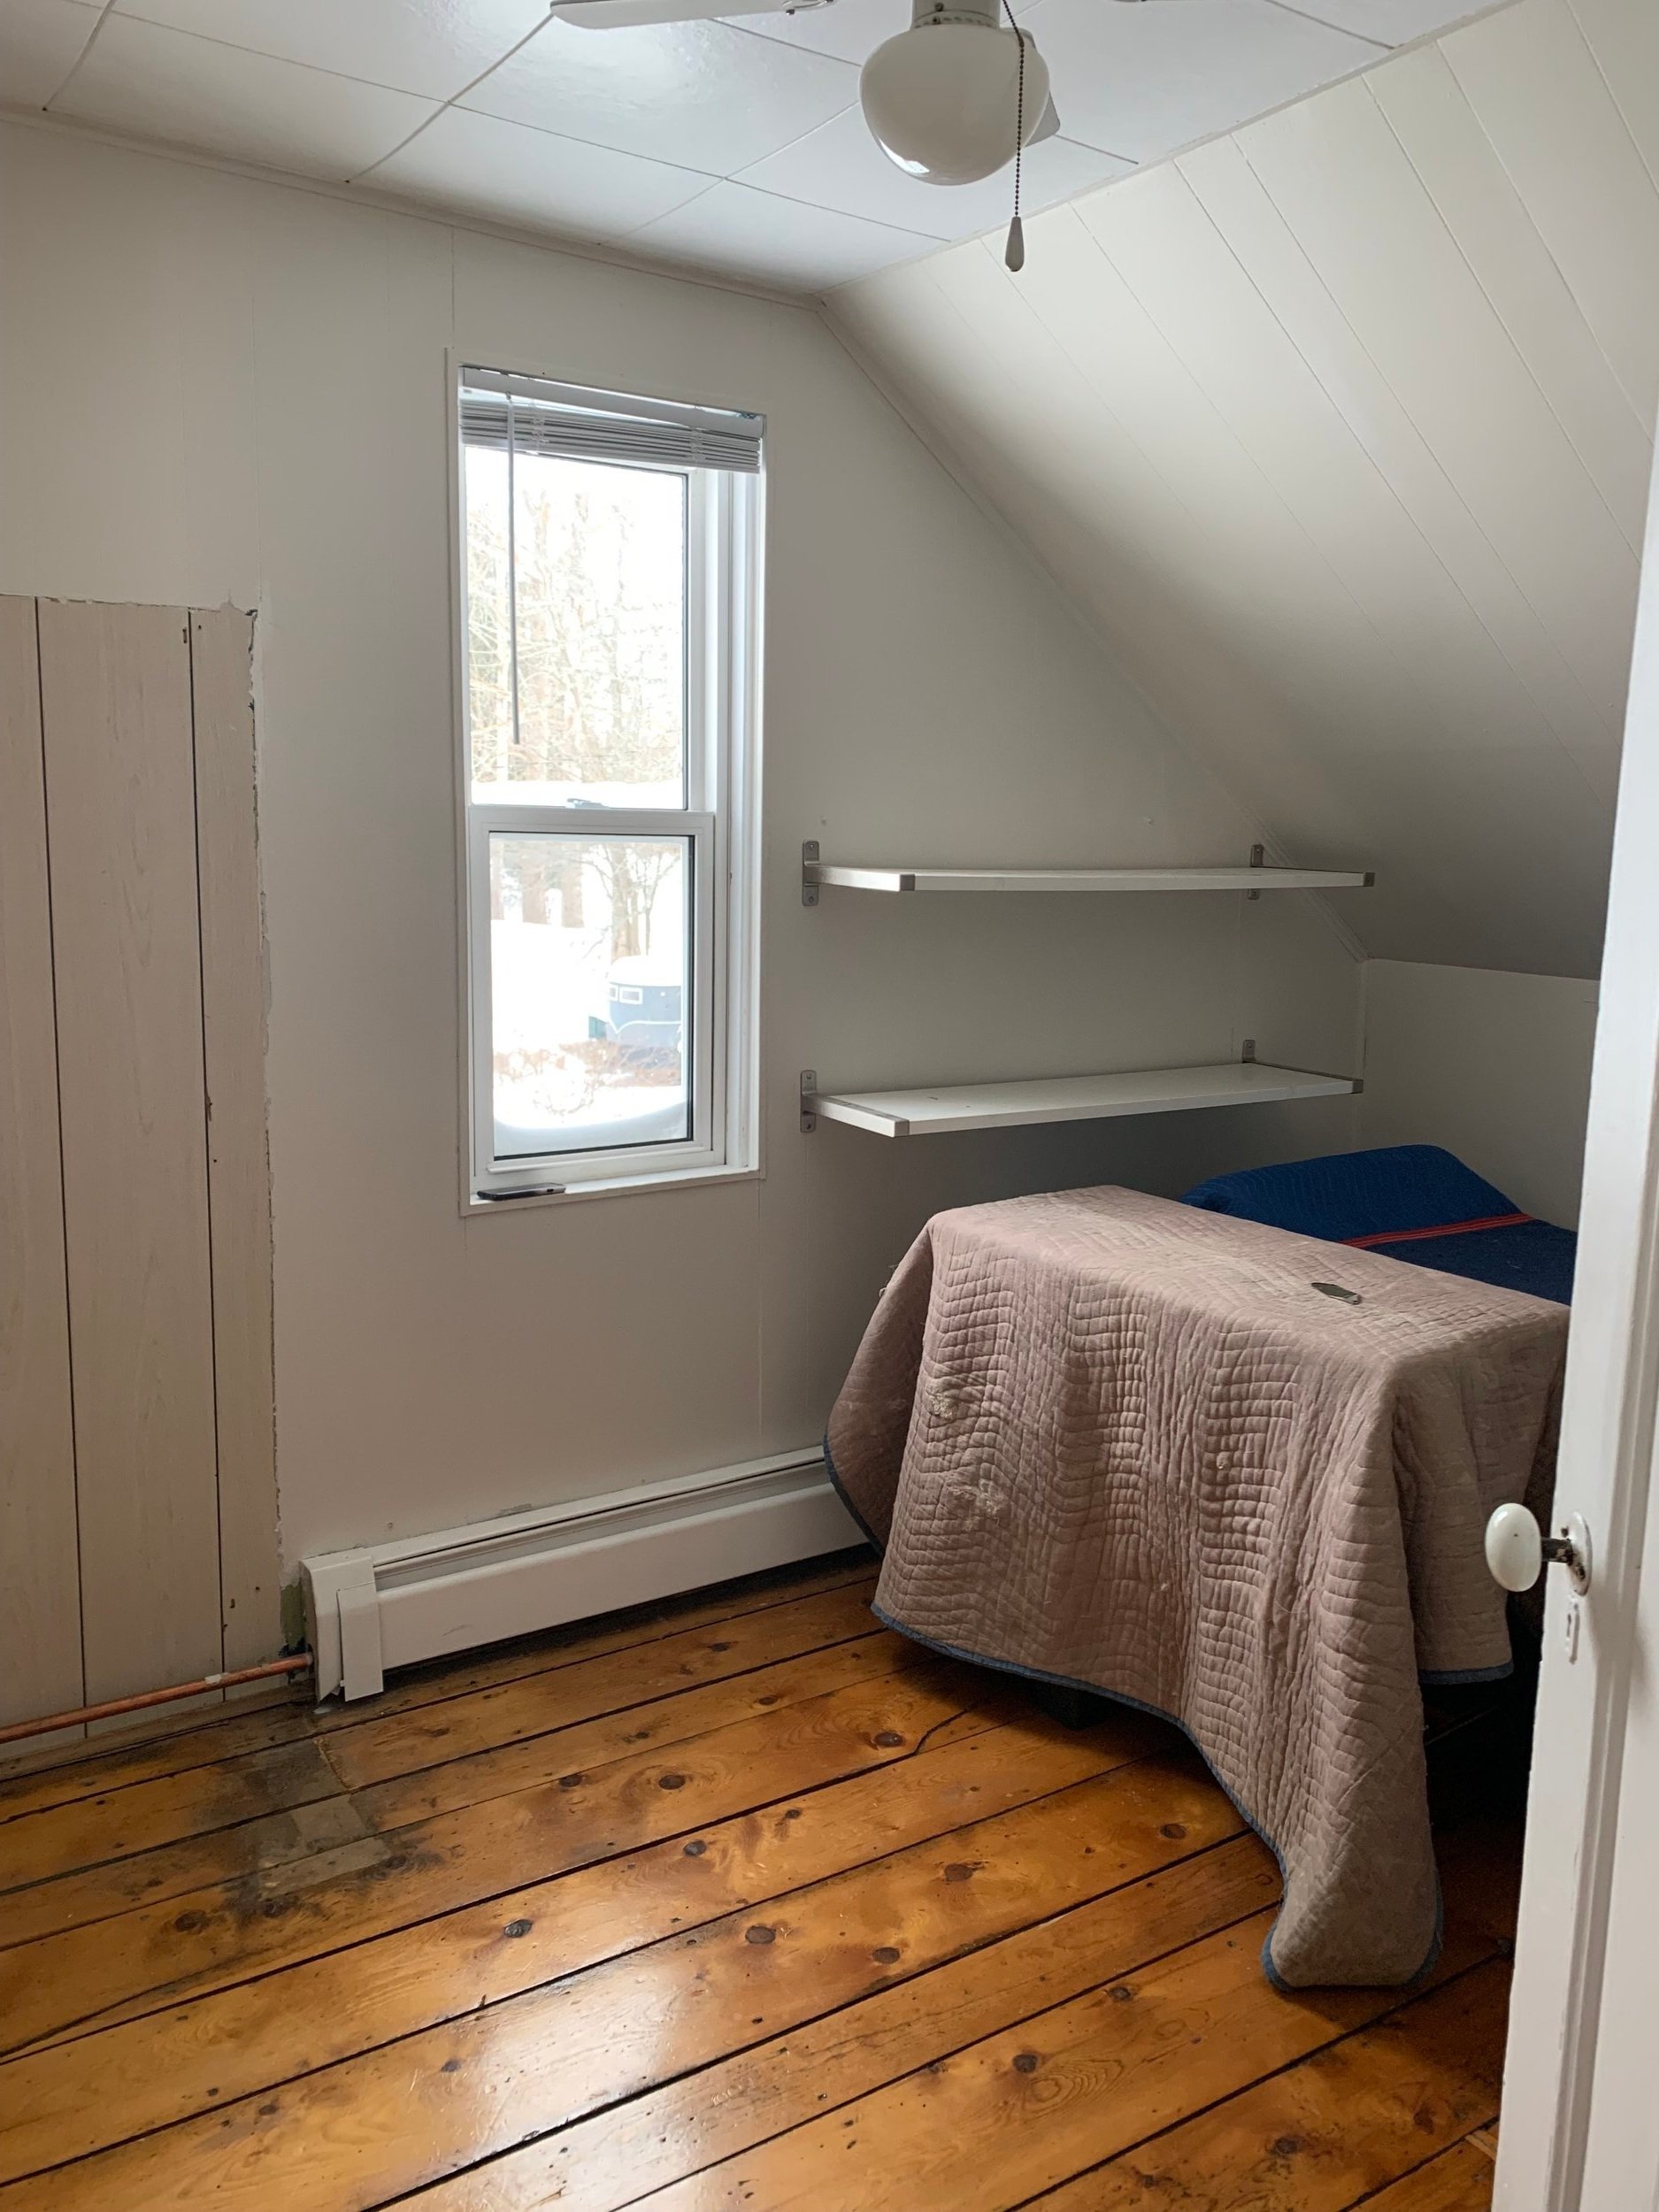
And let’s get those before photos out of the way so you know exactly how far we’ve come…
This was the real estate listing photo.
His room after we moved in. I love my antique iron twin bed frame. I have two of them and I hope to have a cottage one day where I can use them.
That unpainted part was a little closet that wasn’t functional at all.
While this room is small, I knew I wanted it to feel cozy and that led me to a dark and moody color palette which is quite the departure from my light and airy palettes that I’m known for. We love the original pine floors but our son isn’t a fan of them due to Lego pieces falling in between the cracks of the floor boards. That led me on the hunt for the perfect rug. It was this piece that caused the delay in finishing the space for 7 months!
With any design, I like to look for inspiration:
The look I was going for was modern Eurostyle farmhouse. Yes, I may have just made that up. I knew I wanted to bring in classic patterns such as plaids, stripes and windowpane. I also wanted to incorporate linens and wools. I l also love the vertical panelling that you find in many European farmhouses.
Before I was able to get to the fun part, we needed to clad his entire room- walls and ceiling in vertical tongue and groove paneling. While we were at it, we decided to change the swing of his door and in order to do that, it also meant moving his door to the right 3 inches to accommodate trim. My husband worked weekends on this part so it took us a couple of months.
While I love this bed frame, we decided it was time to upgrade our son to a double bed.
Now that my husband completed the construction part of this makeover, it was time for me to fill a thousand little pin nail holes, caulk and paint.
PROGRESS
Because the room is tiny, I didn’t want to break up the space visually and for this reason, I decided to paint the trim the same color as the walls. However, it is important to note that when doing this, you need to use a different sheen so you have a subtle contrast/variation in the finish. On the walls, I used a matte finish and on the trim and baseboards a pearl finish. The color is Benjamin Moore Newbury Port Blue and I used their regal line of paints to paint the room. I love this color and how it pairs nicely with the warmth of the original pine floors.
Let’s talk lighting.
With any room design, it’s important to consider your lighting plan. This space gets fabulous morning sun but it is small and I decided to go with a darker color on the walls as I wanted that cozy moody vibe for my teen son.
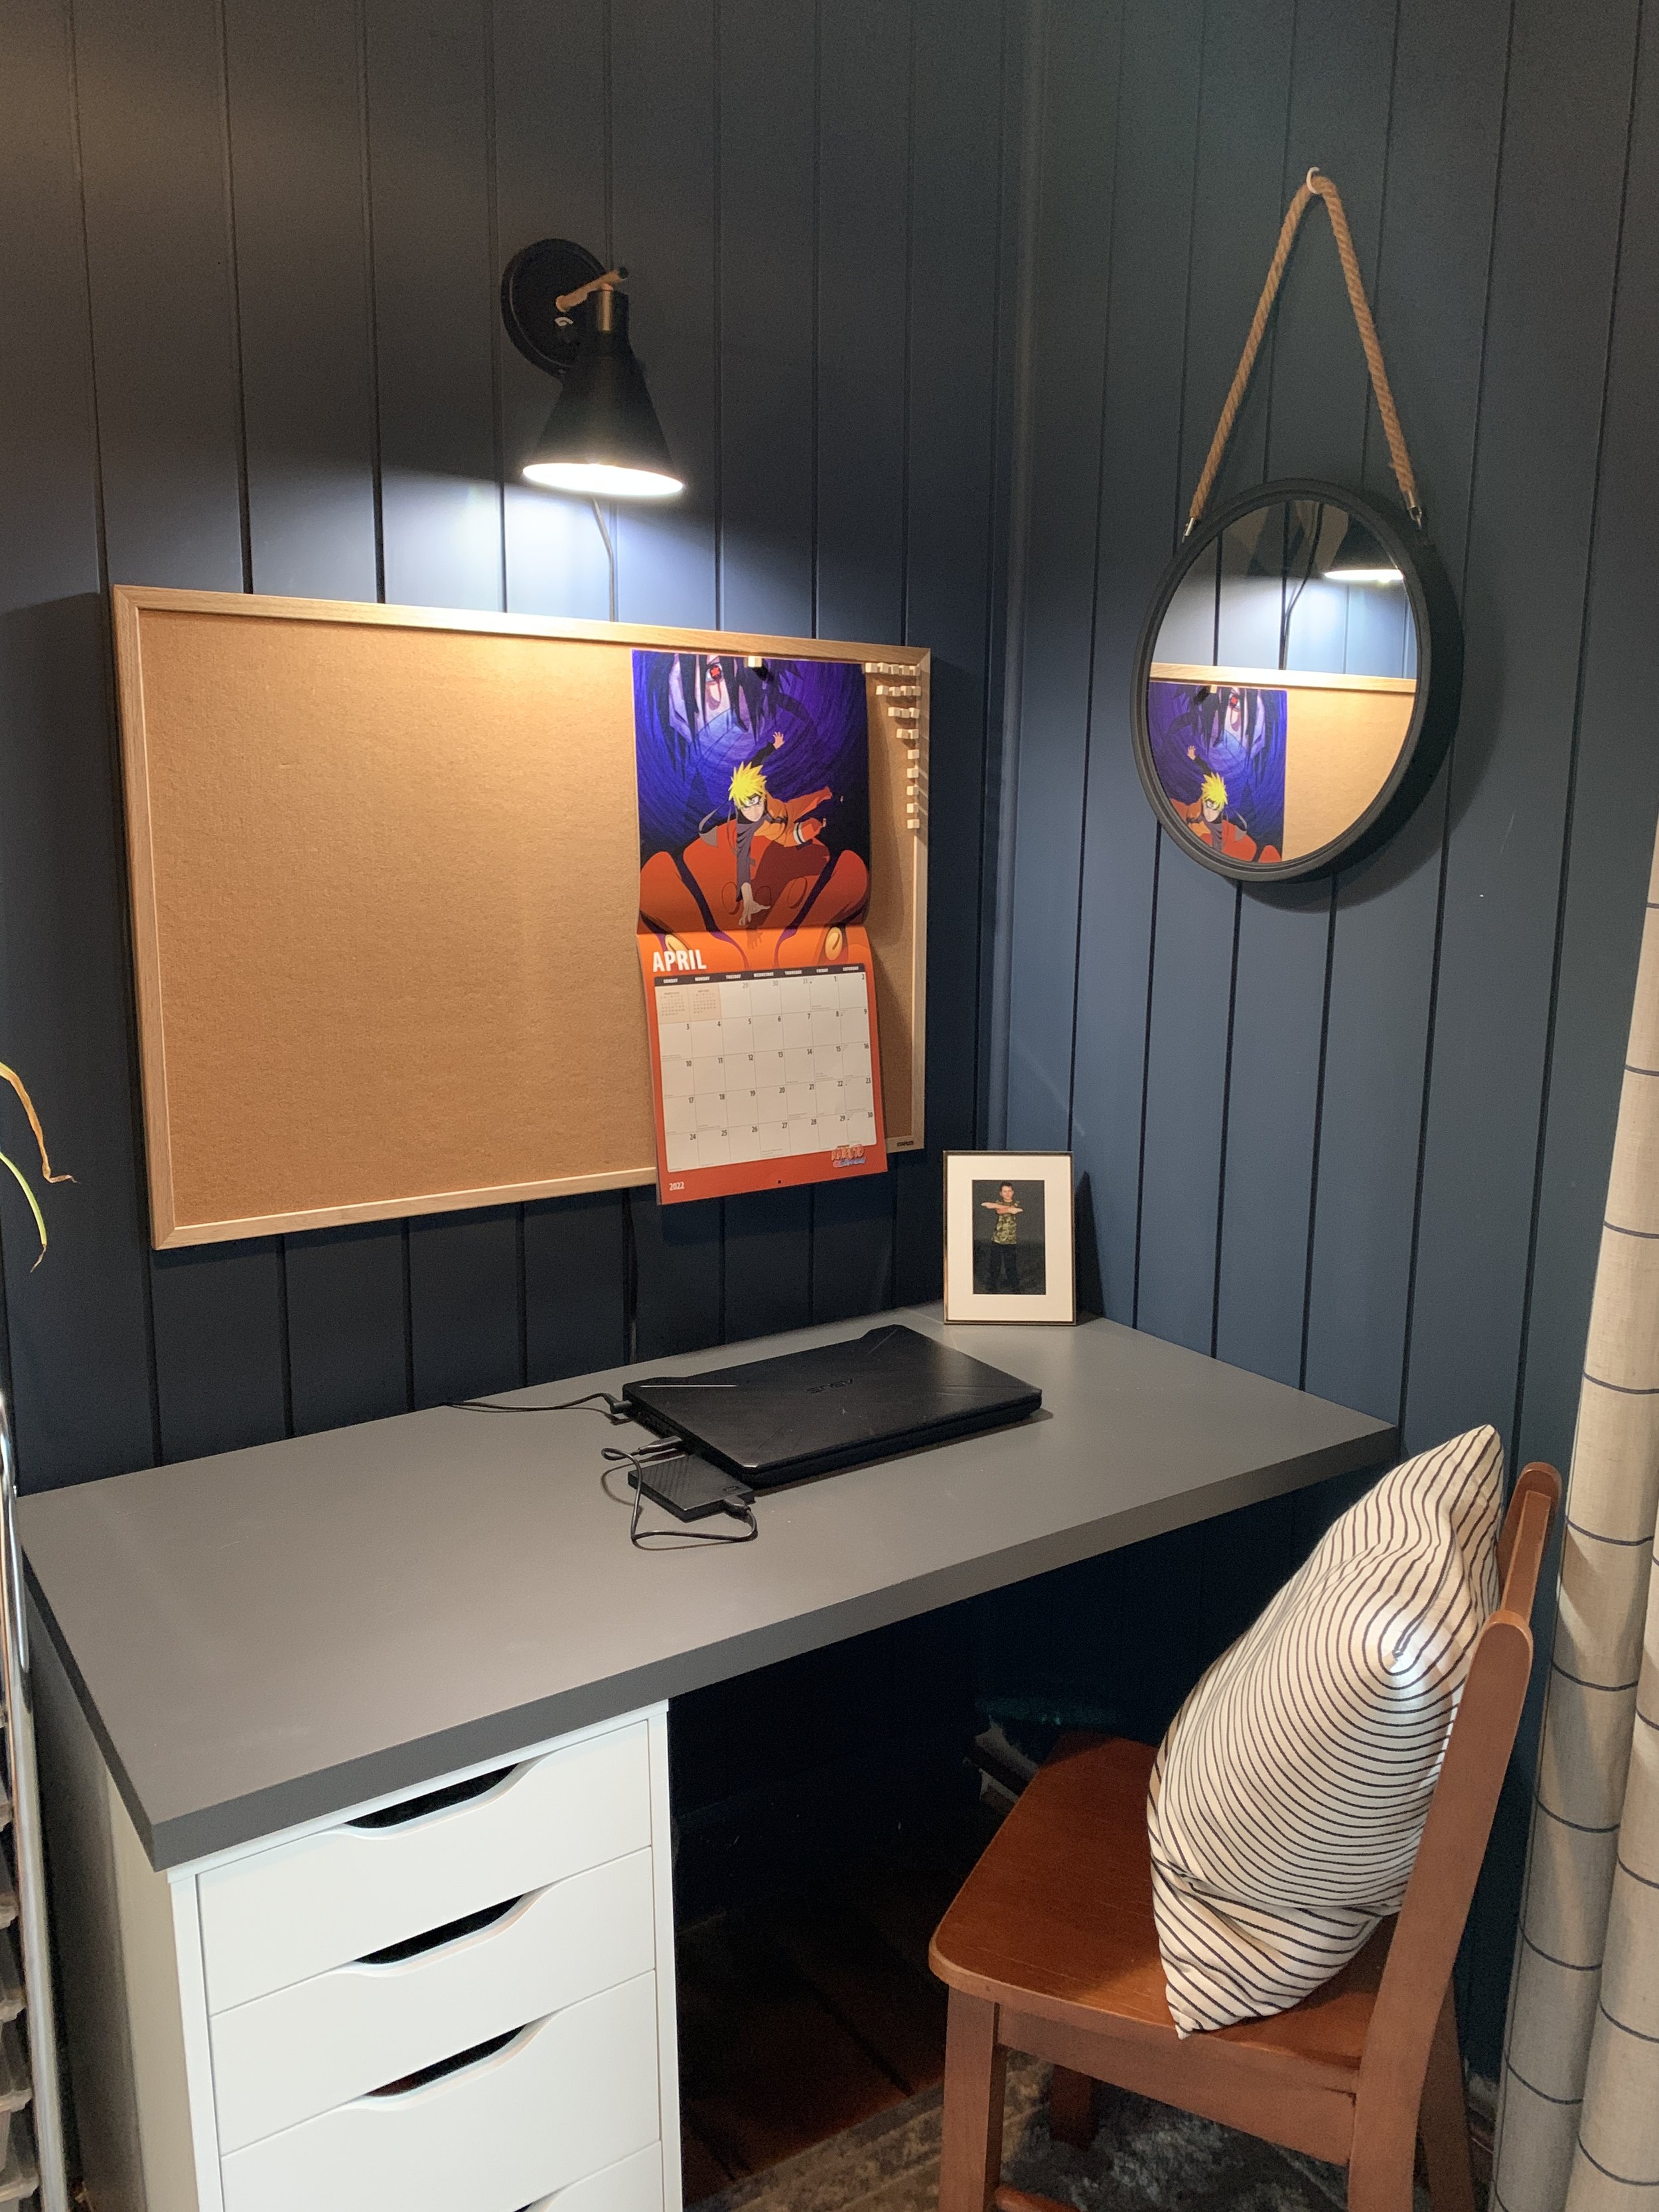
We have three light sources in this space. I swapped out the older style ceiling fan for this modern glass and brass school house semi flushmount and I also installed wall sconces in two locations- one above his bed and the other above his desk.
You can buy this light here. I sprayed it gold as it only came in black.
I plan to install a cord cover and paint it the same as the wall but I want to make his head board and install that first. That will be a project for the fall. For the wall sconces, I used smart bulbs that he can control via his tablet. He can adjust the brightness as well as the warmth of the light. He also has the ability to put them on a timer. This wall sconce I picked up here. Again, it was black and I sprayed it gold.
And now for the final reveal….
We had this dresser in our basement and it was the perfect size for this space. I decided to strip it back to its natural wood and finished it with a white wax. My son’s only request in all of this was to have the ability to display some of his Lego as well as his books. He has 4 large rubbermaid totes of Lego as well as two roll away bins underneath his bed. I left it to him to decide which sets he wanted on display and we installed the shelves around that.
Our intention is to strip all of the original doors. This one still needs some TLC before we can call it done but this wasn’t too bad for my husband sanding it outside in February.
I’m on the lookout for a different bedside table so this one from Ikea will do for now. I’m not sure what I’m looking for; I know I want it to be vintage and thrifted and trust I will know it when I see it.
And let’s talk about this rug for a moment. Was it worth the seven month wait? Yes! Absolutely.
Sure, I could’ve settled for something different to be able to call this room done much sooner but I feel this rug is the piece de resistance in the space. I’m in love with the texture (it’s wool, jute and sisal btw) and the check pattern complements the windowpane pattern in the curtains.
Let’s segue for a moment and talk curtains. These are blackout, linen look and were super budget friendly. I loved them so much I ordered them for our master bedroom in a different color! The blue check is perfect against the dark blue walls. You can get them here.
Back to the rug; as I mentioned his room is 8x11 and he insisted the rug be large enough to cover the cracks between the floor boards. Ideally, a 6x9 would’ve been perfect but I opted for the 8x10 which in reality is more like 7’6” by 9’6”.
The lesson here is I knew wholeheartedly that I would love this rug in the space and that it would be the final piece of the puzzle to tying this design together. I always say, go with what you love, don’t settle. When you design a space with intention, sure it may take little longer, but I guarantee you will end up with a space you love.


