How to DIY Shiplap
Over the years, we’ve done several shiplap projects. It’s been around for years but with TV shows like Fixer Upper superstar Joanna Gaines, it has definitely gained popularity. Real shiplap can be cost prohibitive to some people so I am here to explain how you can get the look for less .
We installed shiplap in numerous rooms in our last home. It was the perfect solution for uneven plastered walls. Our home was 130 years old and while some walls had been drywalled, many were the original plaster. The plaster itself was in good shape but it did have an uneven appearance from years of being fixed.
So how did we achieve this look?
Materials
1/8″ 4×8 sheets of underlayment (some stores referred to it as Luan and others called it Meranti.) They run about $15 a sheet. Some places charge for cuts but the cost is minimal. Just be sure they are cutting straight!
We had the store cut the boards into 6″ or 8″ strips. (this meant we could get between 6 and 8 strips out of a 48″ wide sheet). Because the sheets were 8′ in length, it meant on most of our walls that we were installing it, we didn’t have any vertical seams. If you do end up with vertical seams, I suggest staggering them and then caulking them before painting.
We applied the boards to the wall with a combination of No More Nails and our brad nailer. We start at the top and went down as your bottom piece may be narrower than the rest due to the baseboard.. For us in an old house, our ceilings were never even so use a level to ensure your first piece is level. We often had to cut a custom piece up next to the ceiling and we used caulking to disguise the custom cut. In our mudroom photo above, we installed a slim ceiling trim to hide the gap between the top shiplap board and the ceiling.
We used a dime as our gap spacer between the boards.
Fill any holes made by the brad nailer. Caulk any seams like corners, down by the baseboard, window and door trim and up by the ceiling. You’ll want to make sure that your boards on adjacent walls all line up so your lines are consistent.
Prime the boards with Zinsser primer and then coat in your favourite latex wall paint. I love the Sherwin Williams ProClassic in Alabaster.
The overall cost for our son’s room was $30. We were able to do the mudroom for under $100.
Other materials you can use is pine tongue and groove boards that are 5″ wide by 8′ long. These boards can run between $5-$8 per board though.
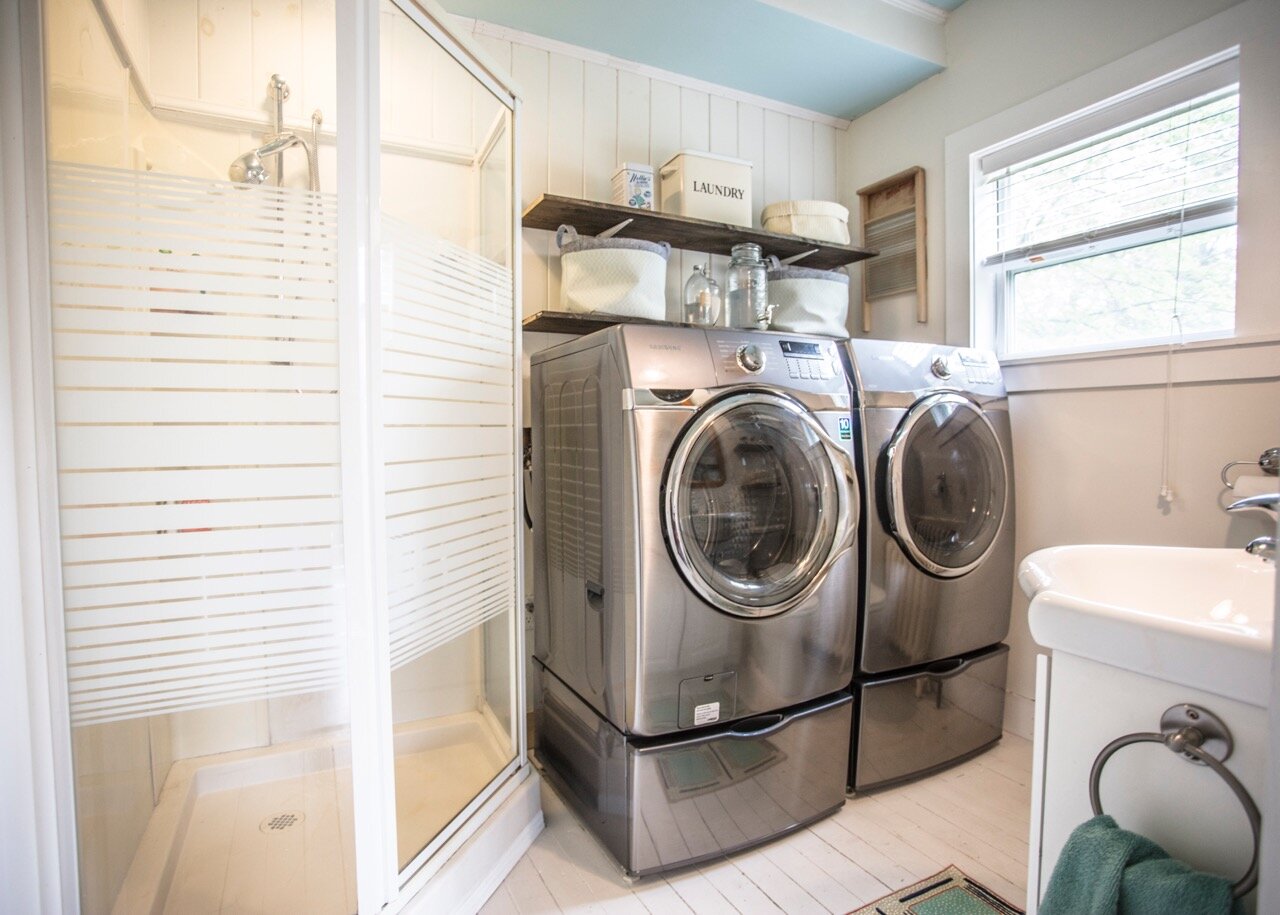
However, we did have it in our kitchen and laundry room/3pc bath and it ran vertically and we loved the look. The kitchen was an addition and the vertical boards made the ceilings feel lighter than they were.
We took a different approach in our latest shiplap DIY. In the photos below, I achieved the look of faux shiplap using a Sharpie Paint Pen in black. It’s important to use a paint pen so if you ever want to paint over it, you can without priming. Just think marker drawn on walls by toddlers and you’ll know what I mean.
In this installation, we used:
Sharpie Paint Pen, water based in fine tip Black. (I found mine at Michaels and used a 40% off coupon. I bought two but only used one for these two walls.)
A measuring tape and level. Starting at the top, mark every six inches.
With your pencil and level, draw a straight line horizontally using your marks every six inches as your guide
Then using a yard stick and your paint pen, draw your lines. It’s easier to draw the lines holding the yard stick rather than a heavy level. As you can see in the photo above, the last line before the baseboard will be thinner so that’s why it’s important to start at the top and work your way down.
This project took me all of an hour to do both walls. It’s really quick. However, I would only recommend this installation over the DIY shiplap in certain locations. These walls are really flat and it is our bedroom so not a high traffic area. While I am happy with how it turned out, in the main living areas, I prefer the look of our DIY method. With that being said, I do have plans of doing the Faux look in my daughter’s room as well.
There you have it, two ways to get the shiplap look for less. So what do you think? Are you ready to give it a go?


